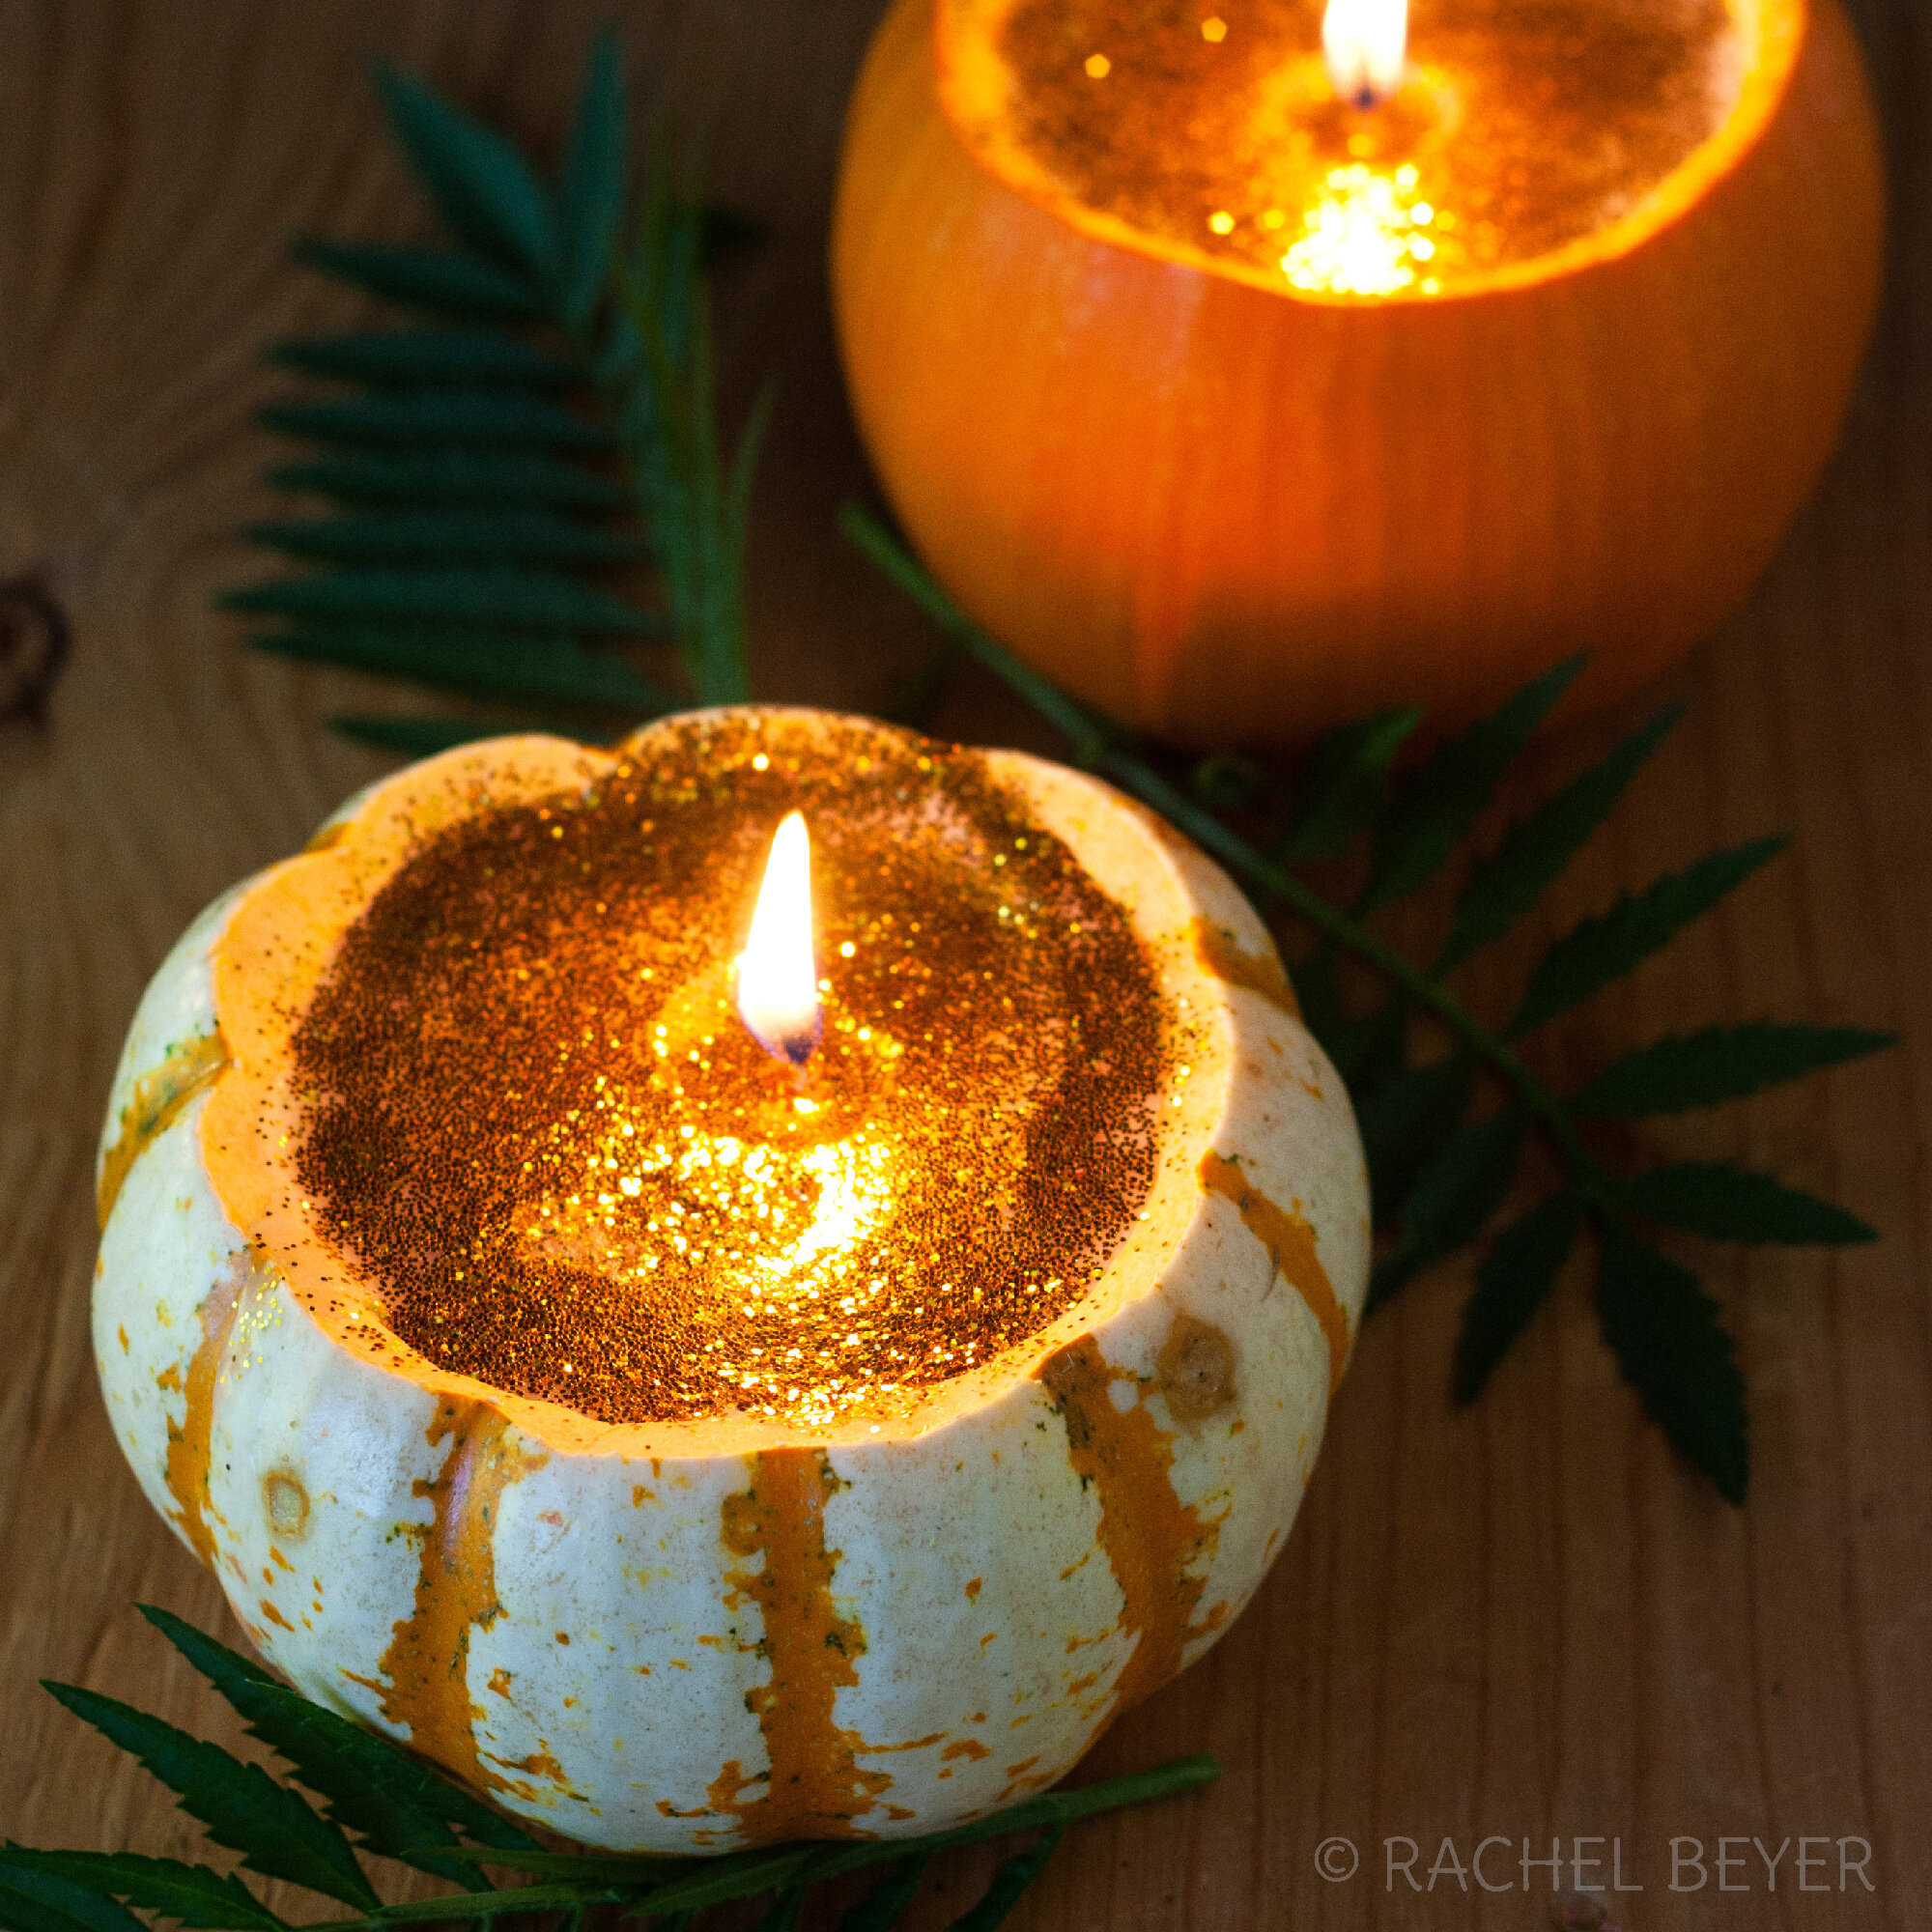
Mini Pumpkin Candles
Mini pumpkin candles make great centerpieces for your Samhain altar or harvest dinner table. Experiment with different kinds of small pumpkins and gourds to make a candle that evokes the spirit of the season.
Supplies Needed
Small pumpkins
Soy wax flakes
#2 cotton candle wick
Metal wick tabs
30 drops essential oil (optional)
Glitter (optional)
Additional Tools
Carving knife
Spoon
Pliers
Metal or glass pitcher and sauce pan
Thermometer
Hot pad
Popsicle stick or wooden skewers or clothespins
Scissors
Heat gun
Paper towels
Instructions
STEP ONE: Carve pumpkins
Cut the top off of each pumpkin and use a spoon to scrape out the insides.
STEP TWO: Prep your wicks
Prep your wick with metal tabs (alternatively you could also use pre-tabbed wicks). Cut the wick to size and insert it through the metal tab with the end of of the wick lining up to the bottom of the tab. Use pliers to pinch the metal tab tightly around the wick. Place into the center of each pumpkin. Use a clothespin to hold the wick into place.
STEP THREE: Melt Wax
Pour soy wax flakes into the metal/glass pitcher. Create a double boiler by placing the pitcher into a saucepan with a few inches of water. Place on the stove over medium heat until wax is melted. Use a popsicle stick to stir the wax. Once completely melted, add the essential oil/fragrance oil (optional) and let cool to approx. 135 degrees F.
STEP FOUR: Pour
Pour melted wax into the prepared pumpkins and double check to make sure your wicks are centered. Allow wax to dry almost completely, then sprinkle glitter over the top (optional). Use a hairdryer or heat gun to ‘hot top’ the glittered wax. The wax should remelt slightly and allow the glitter to set on the top. Allow to dry completely.
STEP FIVE: Enjoy!
Trim wick to 1/4” and then enjoy! Keep in mind that, just like a jack-o-lantern, the pumpkin will mold over time. These candles are meant to be enjoyed soon after making, within 1 week.


